✅ Introduction
Tiling can dramatically improve the look and feel of a space — whether it’s your kitchen backsplash, bathroom floor, or entryway. While it might seem intimidating at first, here’s a step-by-step guide that walks you through the process like a pro.
🧰 Step 1: Gather Your Tools and Materials
You’ll need:
- Tile of your choice
- Tile adhesive or mortar
- Notched trowel
- Level
- Spacers
- Tile cutter or wet saw
- Grout and float
- Sponge and bucket
- Safety gear (gloves, mask, goggles)
📏 Step 2: Measure and Plan Your Layout
Never start tiling without a plan. Dry-lay your tiles first to find the best layout. Start from the center of the room or wall for symmetry. Use a chalk line or laser level to guide your rows.
🧱 Step 3: Apply Adhesive and Lay Tiles
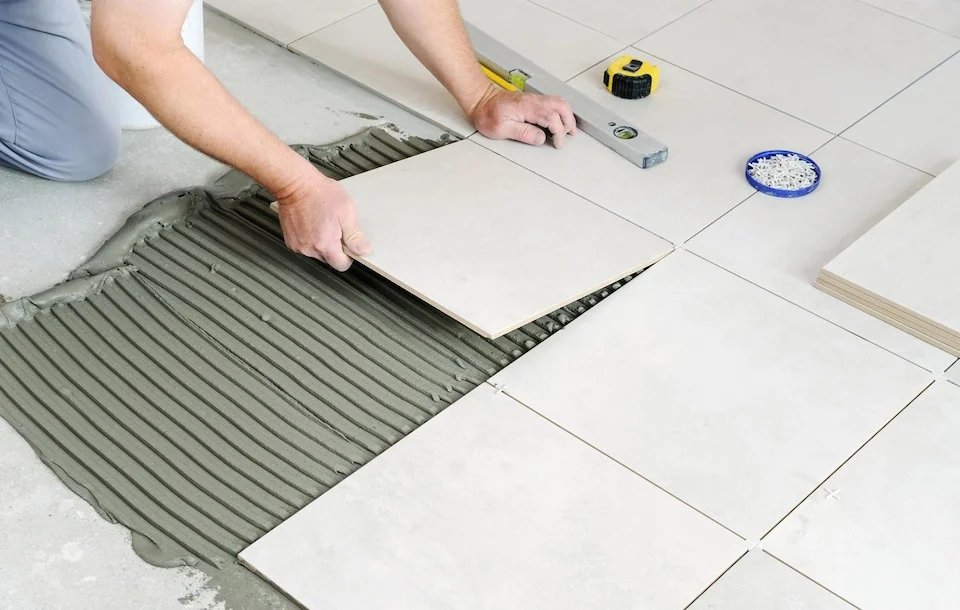
Use a notched trowel to apply a thin layer of mortar to a small section of the surface. Press each tile firmly into place, using spacers to ensure even grout lines. Work in small areas to prevent the adhesive from drying before tiles are placed.
✂️ Step 4: Cut Tiles to Fit
Use a tile cutter or wet saw to cut tiles for edges, corners, and around obstacles. Always wear safety goggles and follow the tool’s safety instructions.
🧽 Step 5: Let It Set and Apply Grout
Allow the tiles to set for 24 hours. Remove spacers, then use a rubber float to spread grout over the joints. Press firmly to fill gaps, then wipe off excess with a damp sponge.
🌀 Step 6: Clean and Seal
Once the grout is dry (usually 24–48 hours), clean any haze off the tile with a soft cloth. If using porous tile or light-colored grout, apply a sealer for extra protection.
🏁 Final Tips from the Pros
- Always double-check measurements before cuts.
- Don’t rush the curing process.
- Invest in quality materials — it’s worth it.
- When in doubt, hire professionals (like us 😉).
💬 Need Help?
Evolution Construction Group offers professional tile installation for kitchens, bathrooms, floors, walls, and patios. Contact us for a free quote and let us bring your vision to life — without the stress.

